Last weekend I got a new HP ZGX AI Studio and spent the weekend turning it into a remote AI dev machine — getting Ollama running, getting a properly quantized 35B model serving fast enough to actually use, and wiring it all up so Claude Code on my Mac talks to the GPU in the other room without knowing it’s remote. I also tried to get TurboQuant working — a custom vLLM fork that makes compressed models run efficiently on the new GPU hardware. That part got messy: build failures, missing Python packages, CUDA compilation times measured in cups of coffee, and a 52 GB model download that reset twice.
But it worked. And the conclusion I walked away with is worth stating plainly: local AI for development is already here, and there’s no meaningful catch. No API key. No cloud bill. No code leaving your machine. You own everything — the model, the data, the whole setup — and it runs anywhere, including offline.
What This Is
First things first: Claude Code isn’t locked to Anthropic’s API. It sends requests in Anthropic’s format, and both Ollama and vLLM now support that same format — so you can point Claude Code at either one and it just works. Point it at a local model server and you get the full experience: file editing, subagents, tool use, memory, the works. All running on your own hardware, nothing leaving your network.
I’ll be honest — Claude Code is genuinely great. The agentic stuff, the way it handles multi-step tasks, the tool use — it’s the best AI coding experience I’ve used. And running it against local models makes it even better in a way that’s hard to describe until you try it. No latency spikes, no watching a cost meter, no wondering what’s happening to your code on someone else’s server. It just runs.
The hardware I’m using is an HP ZGX AI Studio — NVIDIA GB10 (Grace Blackwell chip), 128 GB
of shared CPU/GPU memory, Ubuntu 24.04. It lives on my home network, runs Ollama as a
background service and vLLM when I need more throughput. One SSH connection from my Mac
forwards the ports, and Claude Code just talks to localhost without knowing the GPU is
in the next room.
Your Mac                          HP ZGX (remote)
─────────────────                 ──────────────────────────
Claude Code (client)              Ollama  :11434 (systemd)
  - runs locally        SSH        vLLM    :8000  (manual)
  - reads local files   tunnel    NVIDIA GB10 GPU
  - edits your code    ────────►  128GB unified memory
  - sends prompts (local only)
This post covers the setup end-to-end: Ollama, vLLM, the SSH tunnel, shell wrappers
for Claude Code, and a devcontainer — including --dangerously-skip-permissions.
Why Bother?
Claude Code in agentic mode is chatty. It spawns subagents, reads files, rewrites context, iterates. A lot of that is mechanical work that racks up API costs quickly. Running it locally is cheaper for that kind of volume, and your code stays on your own machine.
The honest catch is hardware. Most laptops can only run small models, and small models aren’t great for coding tasks. A machine with 128 GB of memory helps a lot — you can run something like a 35B model with a decent context window and not feel the squeeze. That’s the setup I have, and it’s what made this feel viable rather than a fun experiment.
I’ll be upfront: I went in skeptical. I expected it to feel like a downgrade — slower responses, worse output, more friction. It wasn’t. I was genuinely surprised how well it worked once everything was connected. Your mileage may vary depending on the model you pick, but for day-to-day coding work it held up fine.
Serving with Ollama
Ollama is the right starting point — one-command install, systemd service out of the box, built-in model library, and an OpenAI-compatible API on port 11434.
curl -fsSL https://ollama.com/install.sh | shTwo things need changing from the defaults: Ollama must listen on all interfaces (not just localhost) so the SSH tunnel can reach it, and the context window needs to be expanded. Ollama’s default of 4 096 tokens is too small for Claude Code; the minimum for agentic use is around 64 k, and 128 k is the comfortable setting.
Create a systemd override at /etc/systemd/system/ollama.service.d/override.conf:
[Service]
Environment="OLLAMA_HOST=0.0.0.0"
Environment="OLLAMA_NUM_CTX=131072"
sudo systemctl daemon-reload && sudo systemctl restart ollamaThen pull the model:
ollama pull qwen3-coder-next # ~52 GB, Qwen3-Next architectureqwen3-coder-next is a MoE model — 80B total parameters, with only ~3B active per token.
It fits in memory with plenty of room for a 128 k KV cache and runs well for code-heavy workloads.
Serving with vLLM
vLLM is worth the extra setup when you need throughput, want a specific HuggingFace-hosted model, or plan to run multiple Claude Code agents concurrently against the same endpoint.
On most Linux machines with a standard NVIDIA GPU, install is straightforward:
python -m venv .venv && source .venv/bin/activate
pip install vllm
On ARM64 Blackwell it’s a different story — the standard prebuilt packages don’t support this GPU yet, so you build from source. One extra flag tells the build which GPU to target:
CMAKE_ARGS="-DCMAKE_CUDA_ARCHITECTURES=120" \
  uv pip install --no-build-isolation-package vllm
Build times are measured in tens of minutes per iteration — worth it once it compiles.
Running a compressed (AWQ 4-bit) model efficiently on new GPU hardware requires low-level kernels that have been compiled specifically for that GPU. The Blackwell chip is new enough that those kernels didn’t exist yet in mainline vLLM — which is where TurboQuant comes in.
TurboQuant is a quantization algorithm from Google Research, published at ICLR 2026 just days before this post. It compresses KV cache vectors down to 3 bits — a 6x memory reduction — without fine-tuning or accuracy loss, using a two-stage approach: polar coordinate rotation to capture structure, followed by a 1-bit error correction pass. On H100s Google reports up to 8x faster attention computation.
Mitko Vasilev took that algorithm and brought it to vLLM with Blackwell GPU support — staying up until 2 AM to sort it out. Without his repo, this section would end with “I gave up.” That kind of quiet infrastructure work is what actually makes this stuff usable — so thanks Mitko.
Before starting vLLM, it’s worth downloading the model to the local HuggingFace cache first. vLLM can pull models on startup, but if your connection drops mid-transfer you’re back to square one — and these models are large. The HuggingFace CLI handles resumable downloads cleanly:
pip install huggingface_hub   # if not already installed
hf download cyankiwi/Qwen3.5-35B-A3B-AWQ-4bit
Once it’s cached locally, vLLM picks it up from disk — no network required at serve time,
which is also why the start script sets HF_HUB_OFFLINE=1.
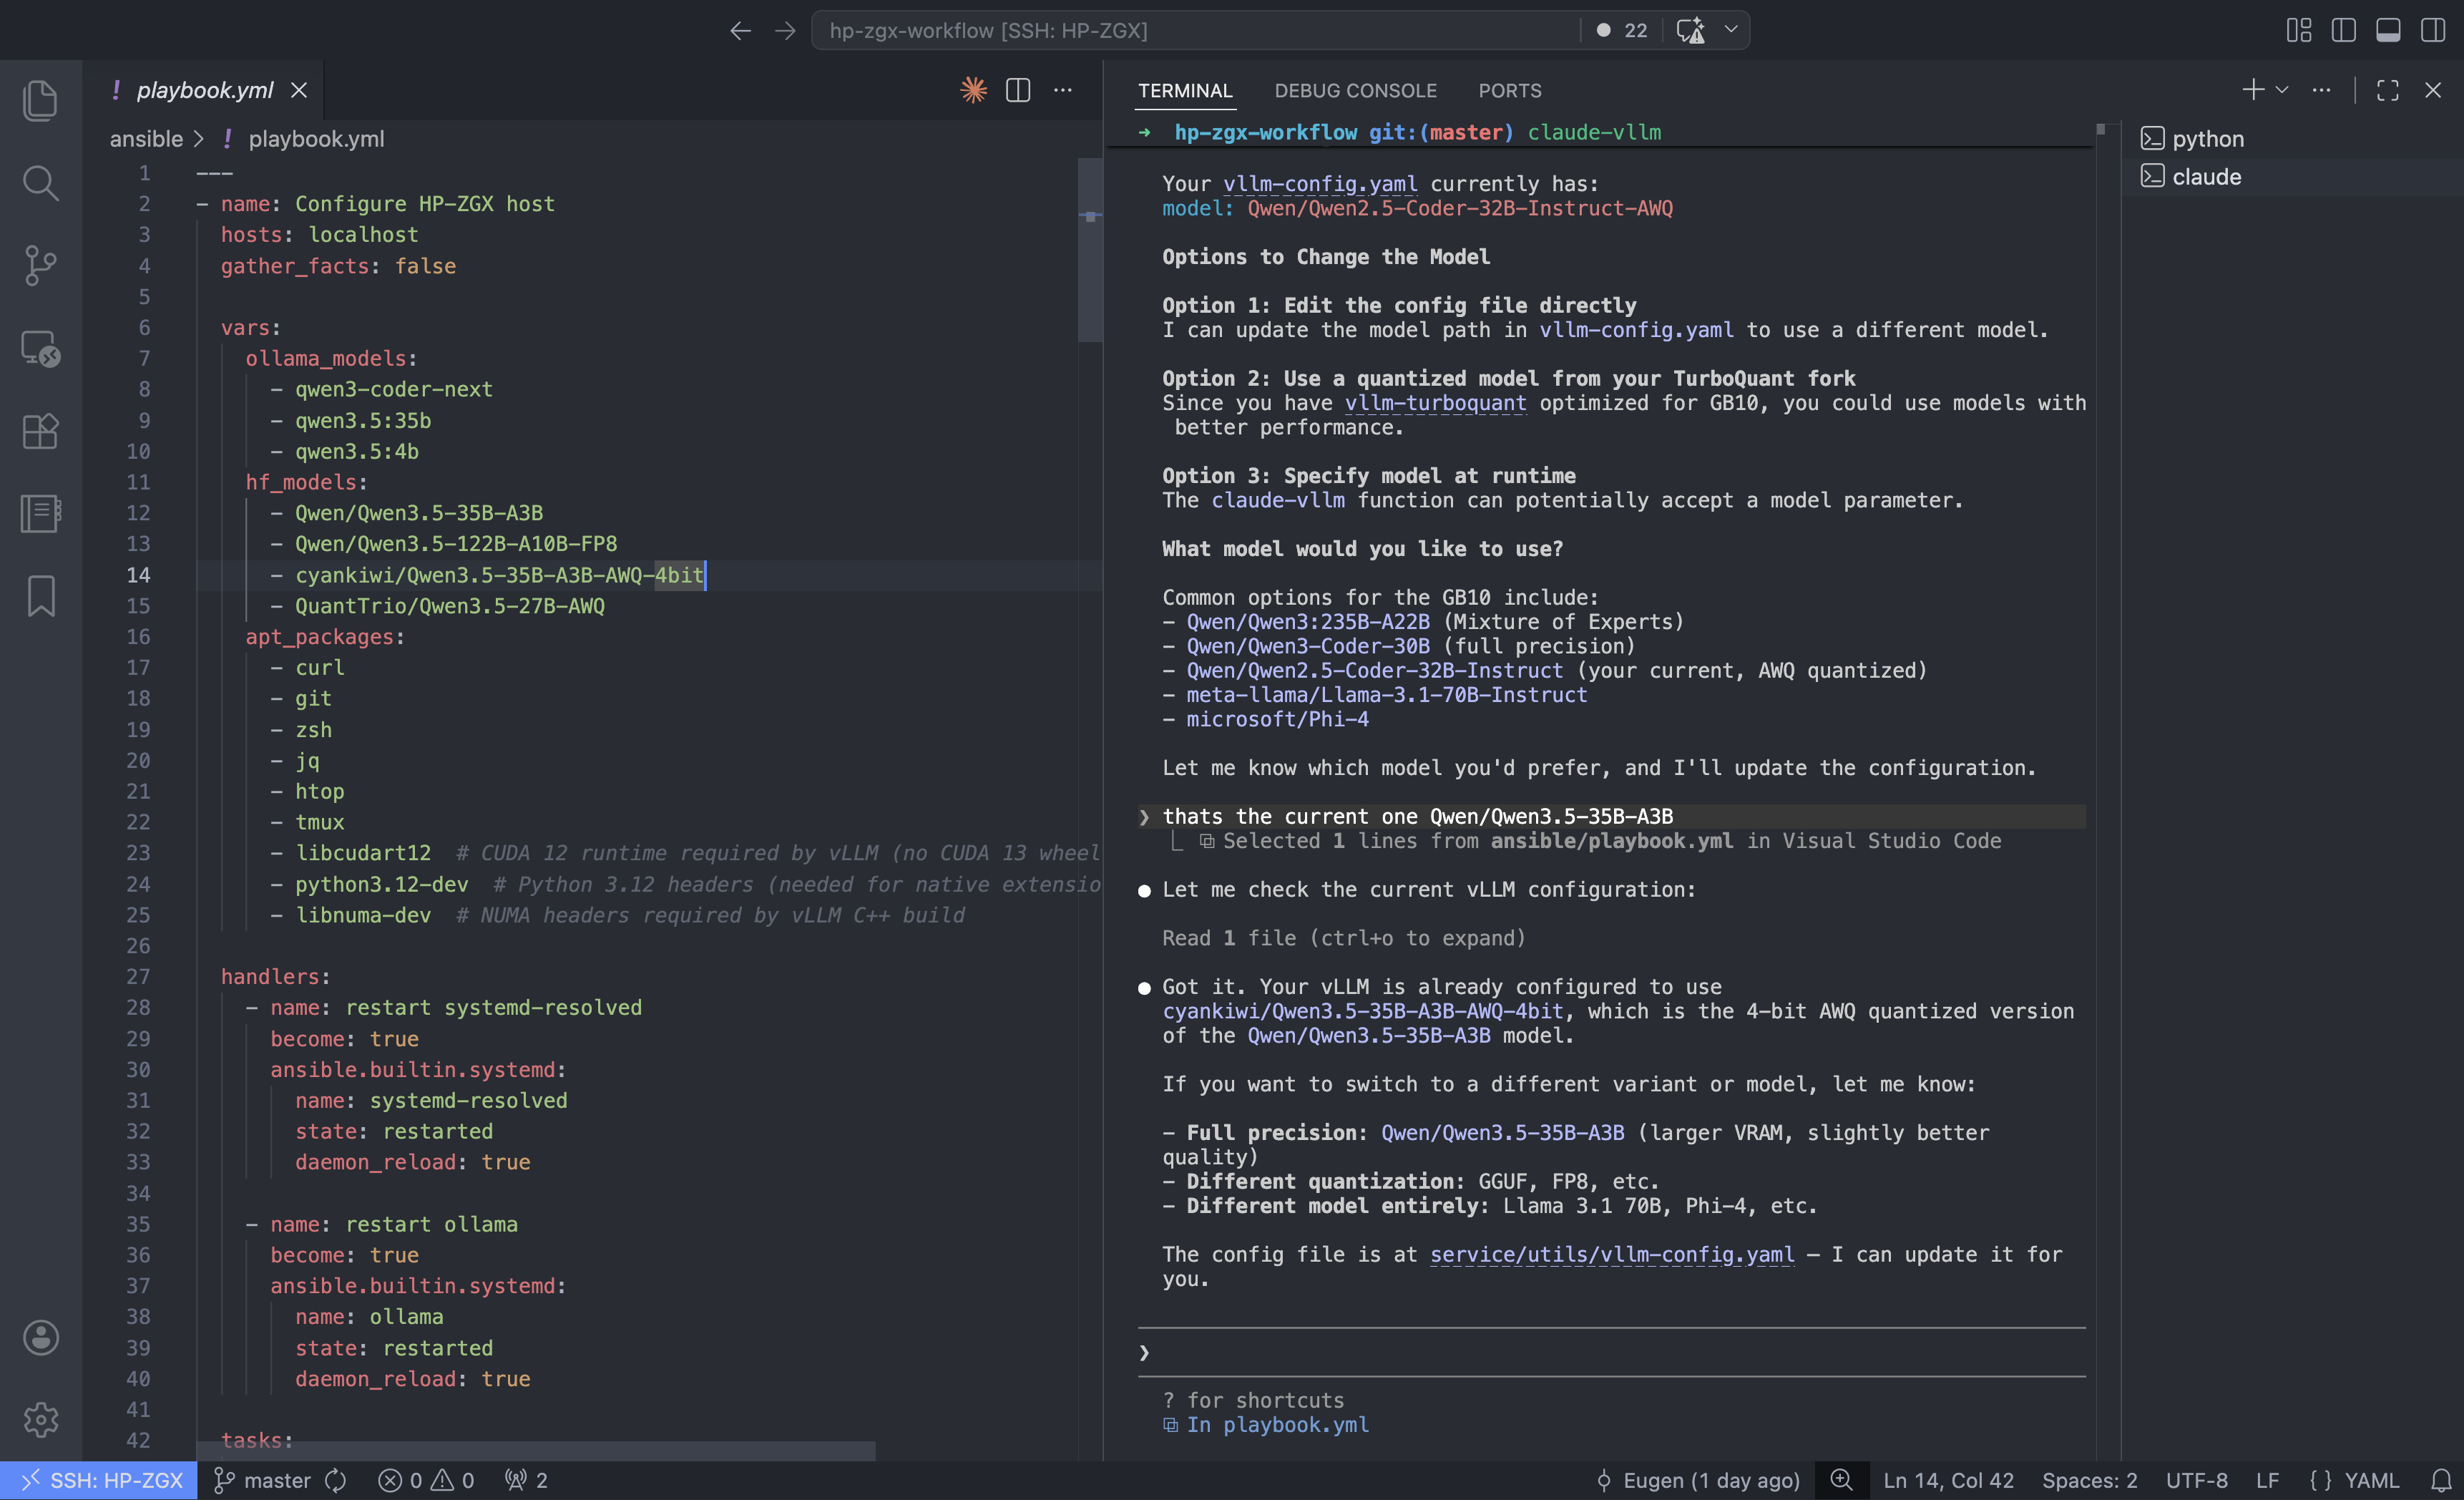
The serving config lives in a YAML file and is passed to vLLM at startup:
# vllm-config.yaml
model: cyankiwi/Qwen3.5-35B-A3B-AWQ-4bit
served_model_name: qwen
max_model_len: 262144          # 256k context
max_num_seqs: 64               # concurrent sessions
gpu_memory_utilization: 0.70
enable_auto_tool_choice: true
tool_call_parser: qwen3_xml    # required for Qwen3.5
default_chat_template_kwargs:
  enable_thinking: false       # saves tokens for Claude Code
host: 0.0.0.0
port: 8000
A few things here worth calling out:
tool_call_parser: qwen3_xml— Qwen3.5 uses an XML-style tool call format (<function_calls>tags). Usinghermesor the default silently breaks tool use. (qwen3_coderis an alternative parser for this model family;qwen3_xmlworks and is what this config uses.)enable_thinking: false— larger Qwen3 models (including this 35B) have a thinking/reasoning mode enabled by default that narrates chain of thought. For Claude Code use, this wastes tokens on output you don’t need.- The AWQ 4-bit model occupies ~22 GB of VRAM;
gpu_memory_utilization: 0.70gives vLLM a total budget of ~90 GB (70% of 128 GB), leaving ~68 GB for the KV cache — enough for around 11 concurrent full-context requests at 256 k.
The start script activates the venv and hands off to vLLM:
#!/bin/bash
# /usr/local/bin/start-vllm
PROJECT_DIR="${VLLM_PROJECT_DIR:-$HOME/repos/hp-zgx-workflow}"
source "${PROJECT_DIR}/.venv/bin/activate"
export HF_HUB_OFFLINE=1
python -m vllm.entrypoints.openai.api_server \
  --config "${PROJECT_DIR}/service/utils/vllm-config.yaml" "$@"
(Snippet — the full script also exports LD_LIBRARY_PATH and PYTORCH_ALLOC_CONF for CUDA compatibility.)
One operational note: startup takes several minutes. The model loads into VRAM and then CUDA compiles computation graphs for each sequence length. Start vLLM in a tmux window and let it finish before pointing clients at it.
As a rough performance reference on this hardware: 36.5 tok/s single-stream, around 338 tok/s aggregate at 64 concurrent sequences — enough headroom for several parallel Claude Code subagent sessions running simultaneously.
SSH Tunnel from the Mac
A single SSH connection forwards both inference ports. Add this to ~/.ssh/config:
Host HP-ZGX
    HostName 192.168.178.103
    User ekoepplin
    IdentityFile ~/.ssh/id_ed25519
    LocalForward *:11434 localhost:11434
    LocalForward *:8000 localhost:8000
    ServerAliveInterval 60
The *: prefix on LocalForward binds the local port on all interfaces, not just
loopback. This matters for the devcontainer setup later.
Open the tunnel:
ssh -N -f HP-ZGX # runs in the background; ports are now live locallyVerify it’s working:
curl http://localhost:11434/api/tags    # should list Ollama models
curl http://localhost:8000/v1/models   # should list the vLLM model
The most common issue is a stale tunnel from a previous session holding the port:
lsof -i :11434 -i :8000 # find the stale process, kill it, reconnectShell Functions for Claude Code
Claude Code checks ANTHROPIC_BASE_URL on startup and routes all inference calls
there. Set it to your Ollama or vLLM endpoint and the rest of Claude Code — file
reading, subagents, tool calls, memory — works exactly as normal. No code changes,
no plugins, no proxy middleware.
ANTHROPIC_AUTH_TOKEN is set to a dummy value — both Ollama and vLLM accept any token.
Add these wrappers to ~/.zshrc:
LOCAL_DEFAULT_MODEL="qwen3-coder-next"

# Claude Code via Ollama on the ZGX — no Anthropic API calls
claude-zgx() {
  local model="$LOCAL_DEFAULT_MODEL"
  if [[ -n "$1" && "$1" != -* ]]; then
    model="$1"; shift
  fi
  ANTHROPIC_AUTH_TOKEN=ollama \
  ANTHROPIC_BASE_URL=http://localhost:11434 \
    claude --model "$model" "$@"
}

# Claude Code via vLLM on the ZGX — no Anthropic API calls
claude-vllm() {
  ANTHROPIC_AUTH_TOKEN=vllm \
  ANTHROPIC_BASE_URL=http://localhost:8000 \
    claude --model "${1:-qwen}" "${@:2}"
}
Daily workflow: ssh -N -f HP-ZGX to bring up the tunnel in the background, then claude-zgx in
your terminal. Every prompt, subagent spawn, and tool call goes to the ZGX — zero Anthropic
API traffic. Switch to claude-vllm for the higher-throughput vLLM backend.
Devcontainers
A devcontainer extends the same idea to a fully portable environment: Claude Code
running inside a container, pointed at local models via the SSH tunnel, with
--dangerously-skip-permissions enabled — and the whole thing checked into the repo
so anyone who opens the project gets it for free.
Both backends are reachable from inside the container. The network path is the same in both cases — only the port differs:
Devcontainer (Docker on Mac)
    │  http://host.docker.internal:11434   (Ollama)
    │  http://host.docker.internal:8000    (vLLM)
    ▼
Mac host  (SSH tunnel bound on *:11434 and *:8000)
    │  SSH LocalForward
    ▼
HP ZGX  (Ollama :11434 / vLLM :8000)
host.docker.internal is Docker’s name for the Mac host. The *: wildcard binding
in LocalForward is what makes both ports reachable from inside the container — a
127.0.0.1 binding would not be.
.devcontainer/devcontainer.json:
{
  "name": "Claude Code Dev",
  "build": { "dockerfile": "Dockerfile", "context": "." },
  "remoteEnv": {
    "OLLAMA_DEFAULT_MODEL": "qwen3.5:4b",
    "VLLM_DEFAULT_MODEL": "qwen"
  },
  "mounts": [
    "source=${localEnv:HOME}/.claude,target=/home/node/.claude,type=bind",
    "source=${localEnv:HOME}/.claude.json,target=/home/node/.claude.json,type=bind"
  ],
  "remoteUser": "node"
}
(Simplified — project-specific env vars and VS Code customizations omitted.)
The .claude bind mount carries over your Claude Code config, memory, and history.
~/.claude.json carries first-run preferences (theme, UI setup), so the container
starts clean without any setup prompts. For local models there’s no login flow —
Claude Code runs as soon as ANTHROPIC_BASE_URL points at the right endpoint.
"remoteUser": "node" matters: Claude Code refuses --dangerously-skip-permissions
when running as root, and the default Docker user is root.
Dockerfile (abridged):
FROM node:20-slim

RUN apt-get update && apt-get install -y curl git zsh \
    && rm -rf /var/lib/apt/lists/*

USER node
ENV HOME=/home/node

RUN sh -c "$(curl -fsSL https://raw.githubusercontent.com/ohmyzsh/ohmyzsh/master/tools/install.sh)" "" --unattended
# zsh-autosuggestions, zsh-syntax-highlighting ...

USER root
RUN npm install -g @anthropic-ai/claude-code
COPY claude-aliases.sh /etc/claude-aliases.sh
RUN echo '. /etc/claude-aliases.sh' >> /home/node/.zshrc

USER node
WORKDIR /workspace
The base image is node:20-slim because Claude Code is distributed as an npm package.
The aliases file contains the same claude-zgx / claude-vllm
functions from above, with localhost replaced by host.docker.internal.
Running Claude Code inside the container:
The aliases bake in --dangerously-skip-permissions and point at the right
host.docker.internal port — you don’t pass any flags manually:
# Via Ollama (always-on, lower throughput)
claude-zgx                          # interactive, default model
claude-zgx qwen3.5:35b              # interactive, specific model
claude-zgx -r "refactor this file"  # non-interactive, runs to completion

# Via vLLM (start-vllm must be running on ZGX first)
claude-vllm                         # interactive, default model (qwen)
claude-vllm -r "write tests"        # non-interactive, runs to completion
The -r flag triggers non-interactive mode: the wrapper passes --print to Claude Code, which
runs the prompt, completes the task, and exits — useful for scripting or piping into CI.
--dangerously-skip-permissions removes all tool approval prompts — file reads, shell
commands, edits. It’s appropriate here because the container is the blast radius:
mutations stay inside the container filesystem and the mounted workspace. The host is
not exposed beyond what’s explicitly mounted.
If connectivity is unclear, the container includes diagnostic helpers:
check-ollama   # verifies DNS, TCP, lists models, prints env
check-vllm     # same for port 8000
Each runs four steps: resolves host.docker.internal, checks TCP reachability, lists
available models, and prints the active environment variables — with a checklist of
what to fix if any step fails.
Automation with Ansible
The full ZGX setup — DNS configuration, package installation, Ollama service, HuggingFace model downloads, vLLM virtualenv, shell configuration, tmux workspace — is automated via an Ansible playbook. The playbook runs locally on the ZGX after first boot and is idempotent, so re-running it is safe.
One useful outcome of the playbook is a tmux-workspace command that creates (or
re-attaches to) a structured tmux session:
monitor—nvidia-smiandhtopside by sidevllm— ready to runstart-vllmollama— Ollama shellshell— clean working shell
The Ansible playbook, vLLM config, and devcontainer referenced in this post will be on GitHub shortly.
Tradeoffs
| Concern | Reality |
|---|---|
| Network latency | LAN SSH adds ~1 ms; negligible compared to inference time |
| Security | Ollama/vLLM bind to localhost on the ZGX; only reachable via authenticated SSH |
| GPU contention | Ollama and vLLM both hold VRAM — run one at a time for 30B+ models |
| vLLM startup | 5–15 min for model load + CUDA graph compilation — always start it in tmux |
| Model disk space | qwen3-coder-next is 52 GB; the AWQ vLLM variant is 22 GB — plan accordingly |
| IPv6 on large downloads | If HuggingFace downloads reset mid-transfer, disable IPv6 temporarily: sudo sysctl -w net.ipv6.conf.all.disable_ipv6=1 |
Two Days Well Spent
What started as “let me just get this machine set up” turned into a proper two-day rabbit hole — Ollama, vLLM, a custom vLLM fork, SSH tunnels, devcontainers, Ansible. More than I planned, but genuinely fun. There’s something satisfying about getting all the pieces to click together, especially when the last piece is a 35B model actually running well on your own hardware.
The thing that stuck with me most wasn’t the setup itself — it was how good the output was. I went in expecting a compromise. I came out thinking local AI for coding is already there. Not “good enough if you squint.” Actually good.